How to Make a Custom Center Console for Your Car
Table of Contents Hide
- What You Will Need To Follow This Tutorial
- Step by Step Instructions
- Step 1: Find Mounting Points
- Step 2: Design and Cut Board
- Step 3: Build a Wooden Frame
- Step 4: Cover with Foam and Material
Are you looking for a center console made out of wood? This is the perfect spot for you. Since wood is a very prominent material, this can also be used as a center console like in cars. You can customize your center console with the designs that suit your interior car design.
While I was having a tour around the city, I made a stopover to a coffee shop to buy an iced coffee drink. I was struggling where to put my drink since my center console is already full of stuff. It made me realize, why can't I have the console that I want with the right convenience and perfect customization? And then my inventor gut feeling took me to the idea of making my own center console with a material that is easy to look for, the wood.
There are three main goals that I want with my invention, first, it should be cheap, second, materials should be easy access, and third, it should be artsy and fun. Like me, we want our center console to be attainable. Let me help you sort this innovative creation.
What You Will Need To Follow This Tutorial
- Cardboard Box
- Marker
- Cardboard Cutter
- Wood
- Black Canvass Fabric
- 1 thick Foam
- Rocket switch mount
- Red Rocker switches
- 3 in 1 Cig charger, voltmeter, USB
- Hole Saw Kit
- Oscillating Cutting tool
- Tape
- Staple gun
As for the fabric, you may use another color that will suit your taste but I highly suggest the canvass type of fabric since this is durable yet cheap than other fabric available in the hardware stores. You may choose the type of color that you want that matches the interior design of your car.
Step by Step Instructions
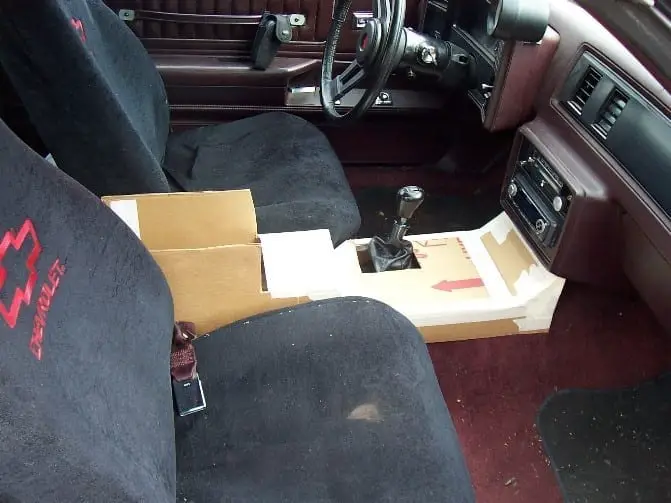
Step 1: Find Mounting Points
You need to find a way on how to securely mount your center console in place. Make sure that you have properly secured the mounting, that includes where to place the console with comfortability. Now in this step, you should know the width and height that you prefer for your own convenience since we don't want to compromise your driving conformity.

Credit Image: sickspeedmonte.com
Step 2: Design and Cut Board
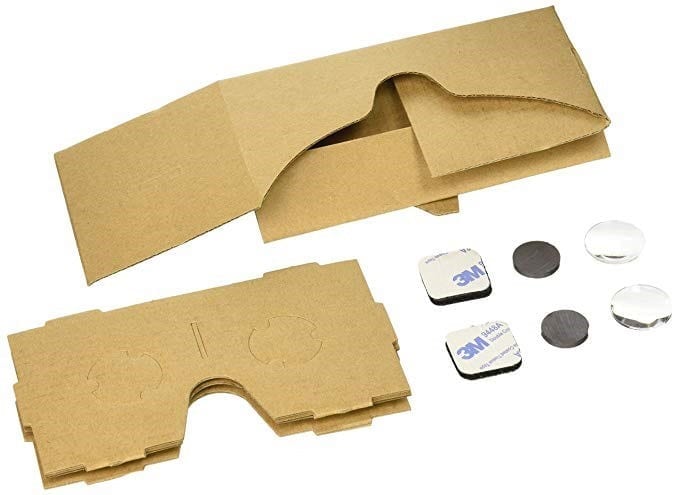
In this step, you can be creative on your own, this is my favorite part since this is the foundation of our creativeness. We can make our own design with artistic ability and custom design our DIY. We are going to use our cardboard as our template for the center console. You may draw out of scratch as a temporary design to follow this step.
This takes a lot of trial and error so just have fun with it, measure the top and all sides of the console including the bottom using a marker and draw it directly to the cardboard box. Using the cardboard cutter, cut the outlined areas of the cardboard box for the customized shape that you have drawn.

Credit Image: Amazon.com
Step 3: Build a Wooden Frame
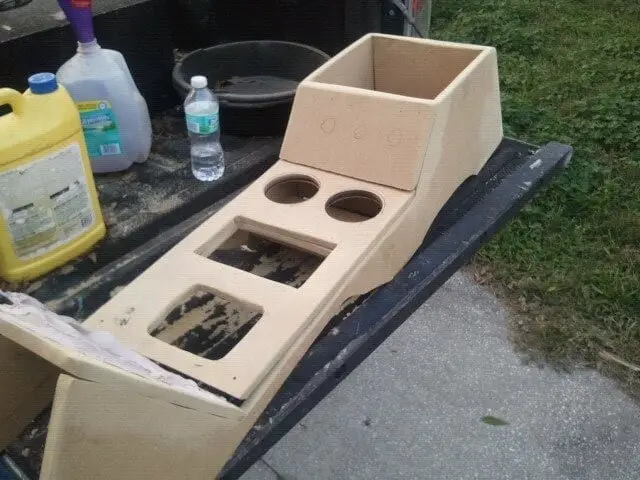
Using a cutting tool for the wood, cut all the edges of the wood including the holes and designs for the customized center console that you picture out. Temporary assemble all the woods that you cut and try to fit in all the pieces into one to finalize the console for the proper assembly of the woods.
Now we are going to finally assemble all the woods with the screws. One thing that you should remember, this is not expected to be highly perfect since we are going to cover it with foam and fabric anyway.
All the gaps of each side should not be bothered since this is not the final score.
And to finish this step three, let us install all the switches and accessories on to the wood.

Credit Image: blogspot.com
Step 4: Cover with Foam and Material

Credit Image: tapatalk-cdn.com
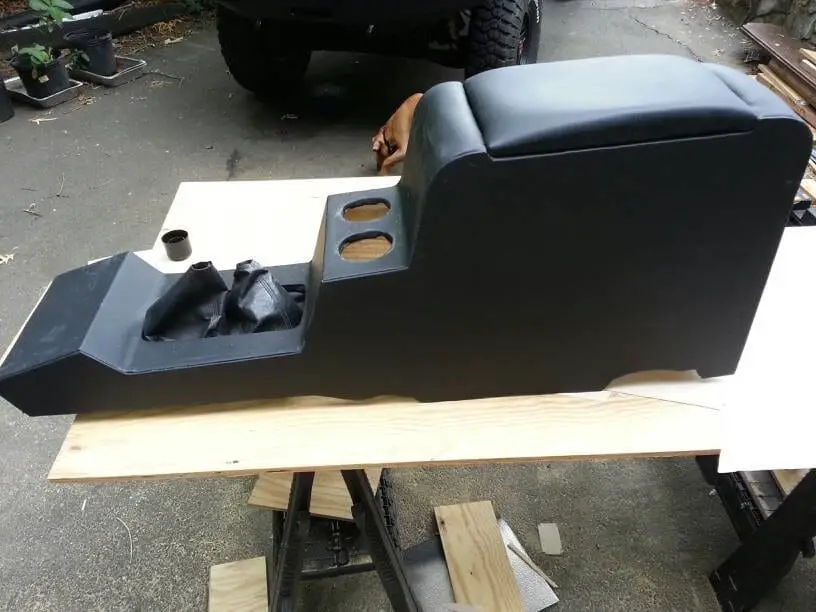
In here, this is the final touch of the DIY. In my opinion, this is the delicate part of the step since you are finalizing the cover of the center console, it should be made with close enough to perfection.
Trace the foam using the sizes of each piece of wood and cut it slightly larger than the lead so that the foam hangs over the edge.
Put the glue on the wood and place the foam, press it down so that it will securely hold the materials.
Do the same thing with the other pieces of the woods.
Then put the canvass on the material, cut it with a 3 to 4-inch space for each edge.
Scrape the sharp edges of the wood with sandpaper before putting the canvass to the material.
Staple the canvas to your material and secure every edge to make it durable.
Repeat the process to all materials. After you have finished putting the canvass you are now ready to assemble the accessories to the center console, then finally you are now ready to mount your final product to your car.
And there we have it, we now have our own customized made out of wood and at the same time, a cheaper center console without a hassle. As I was making this DIY it made me realize simple is more. Who would think that this finished product is cheaper yet amazing than we thought? You too, you can make it with your preferred design and customization without complication.
What are you waiting for? Grab the materials to your nearest hardware store, create and invent by following the simple steps above. Be artsy and practical with your work.
This is it, we love to see your comments and don't forget to thumbs up to inspire us of making another tutorial. And also, don't forget this to share!
How to Make a Custom Center Console for Your Car
Source: https://cutthewood.com/diy/how-to-make-a-center-console-out-of-wood/
0 Response to "How to Make a Custom Center Console for Your Car"
Post a Comment